Phaser3 Pathを使ってみる
先日経路探索ライブラリを導入したので、今回はPhaserのPathを用いて経路を表示してみたいと思います。
Pathで曲線描画
PathはPhaser3から導入された新機能で、各種曲線や直線を作成することができます。
作成したpathは画面への描画だけではなく、tweenの経路に用いることもできます。
Phaser2では直線一つ描くのにも一苦労だったので、Pathは非常にありがたい機能です。
まずはパスオブジェクトを宣言します。
//パス
public curve: Phaser.Curves.Path;
次にupdateを以下のように変更します。
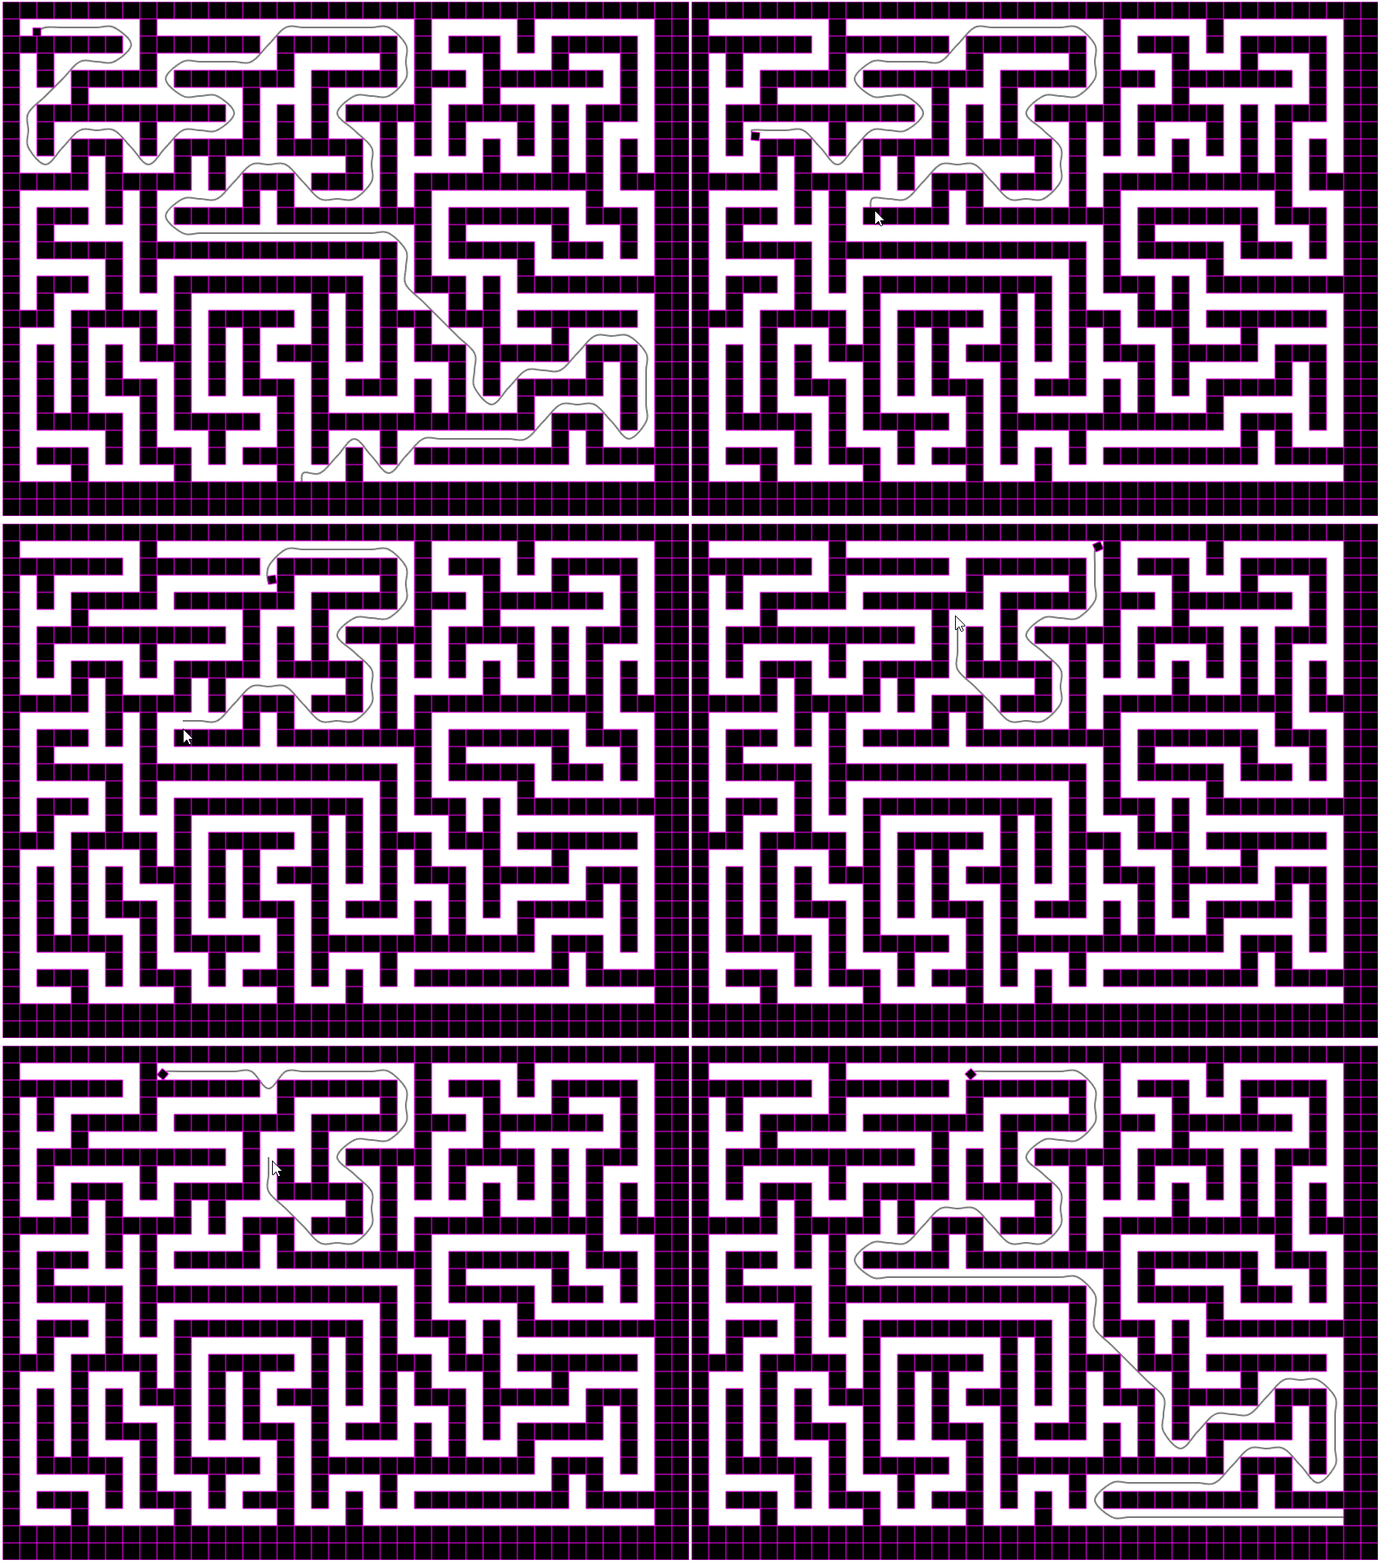
フレーム毎にプレイヤーオブジェクトからマウスポインタへの経路を表示するようにしてみました。
update() {
    //プレイヤーの移動処理
    this.player.angle += this.controller.xRotate * this.speed;
    this.player.setVelocity(this.controller.xAxis * this.speed, this.controller.yAxis * this.speed);

        //曲線の初期値を設定する
        this.curve = new Phaser.Curves.Path(this.player.x, this.player.y);

        this.pathgraphics.clear();
        this.pathgraphics.fillStyle(0xf08300, 1);

        //プレイヤーの現在位置とクリックされた位置をasterに渡す
        let nodeA = this.astar.getNode(Math.floor(this.player.x / this.tileSize), Math.floor(this.player.y / this.tileSize));
        let nodeB = this.astar.getNode(Math.floor(this.input.activePointer.x / this.tileSize), Math.floor(this.input.activePointer.y / this.tileSize));

        let path = this.astar.path(nodeA, nodeB);

        //curveに渡す配列を用意する
        let pathArray = [];

        for (let p of path) {
            //this.pathgraphics.fillRect(p.x * this.tileSize, p.y * this.tileSize, this.tileSize, this.tileSize);
            pathArray.push(p.x * this.tileSize + this.tileSize / 2, p.y * this.tileSize + this.tileSize / 2);
        }

        //カーブを描く
        this.curve.splineTo(pathArray);


        //パスを描く
        this.pathgraphics.lineStyle(2, 0x000000, 0.5);
        this.curve.draw(this.pathgraphics,1000)

}
this.curve = new Phaser.Curves.Path(this.player.x, this.player.y);の部分で直線の開始位置を指定し、pathのforループでパスにポイントを追加、this.curve.splineToでポイントを節としたスプライン曲線が作成されます。
this.curve.drawに描画対象のgraphicsを渡すことでカーブを描画できます。
第二引数でカーブの描画に使う点を設定します。
数値を大きくすればなめらかな曲線を得ることができます。
(このプレイヤーオブジェクトは自分が操作しています)

pathを使ったtween
次はPathをtweenに利用してみます。
まずは公式のサンプルにならいtweenするためだけの構造をもったfollowerクラスを作成します。
 //パスをなぞるためのフォロワークラス
    export class Follower {

        public t: number;
        public vec: Phaser.Math.Vector2;

        constructor() {
            this.t = 0;
            this.vec = new Phaser.Math.Vector2();
        }
    }
updateを変更します。
update() {
    //プレイヤーの移動処理
    this.player.angle += this.controller.xRotate * this.speed;
    this.player.setVelocity(this.controller.xAxis * this.speed, this.controller.yAxis * this.speed);

    if (this.input.activePointer.justDown) {
        //曲線の初期値を設定する
        this.curve = new Phaser.Curves.Path(this.player.x, this.player.y);

        this.pathgraphics.clear();
        this.pathgraphics.fillStyle(0xf08300, 1);

        //プレイヤーの現在位置とクリックされた位置をasterに渡す
        let nodeA = this.astar.getNode(Math.floor(this.player.x / this.tileSize), Math.floor(this.player.y / this.tileSize));
        let nodeB = this.astar.getNode(Math.floor(this.input.activePointer.x / this.tileSize), Math.floor(this.input.activePointer.y / this.tileSize));

        let path = this.astar.path(nodeA, nodeB);

        //curveに渡す配列を用意する
        let pathArray = [];

        for (let p of path) {
            pathArray.push(p.x * this.tileSize + this.tileSize / 2, p.y * this.tileSize + this.tileSize / 2);
        }

        //カーブを描く
        this.curve.splineTo(pathArray);

        this.follower.t = 0;

        //プレイヤーの代わりにフォロワーの値をtweenする
        this.tweens.add({
            targets: this.follower,
            t:1,
            ease: 'Sine.easeInOut',
            duration: 5 * this.curve.getLength(),
            onUpdate: () => {
                this.curve.getPoint(this.follower.t, this.follower.vec)
                this.player.x = this.follower.vec.x
                this.player.y = this.follower.vec.y
            }
        });

        //パスを描く
        this.pathgraphics.lineStyle(2, 0x000000, 0.5);
        this.curve.draw(this.pathgraphics,1000)

    }
}
前回はtimelineで経路をなぞるアニメーションを作成しましたが、今回は一つのtweenだけを作成しています。
followerクラスのtをtweenさせ、this.curve.getPoint()でカーブの途中の点を取得しています。
getpointは第一引数でカーブの位置を指定、第二引数に取得したカーブの座標を代入します。
例えばgetpoint(0.5,vec)と書けば、vecにpathの真ん中の座標が代入されます。
onUpdateでtween中の処理を書くことができるので、getpointとプレイヤーオブジェクトの座標変更をここで行うことでcurve上を移動させることができます。
        //プレイヤーの代わりにフォロワーの値をtweenする
        this.tweens.add({
            targets: this.follower,
            t:1,
            ease: 'Sine.easeInOut',
            duration: 5 * this.curve.getLength(),
            onUpdate: () => {
                this.curve.getPoint(this.follower.t, this.follower.vec)
                this.player.x = this.follower.vec.x
                this.player.y = this.follower.vec.y
            }
        });
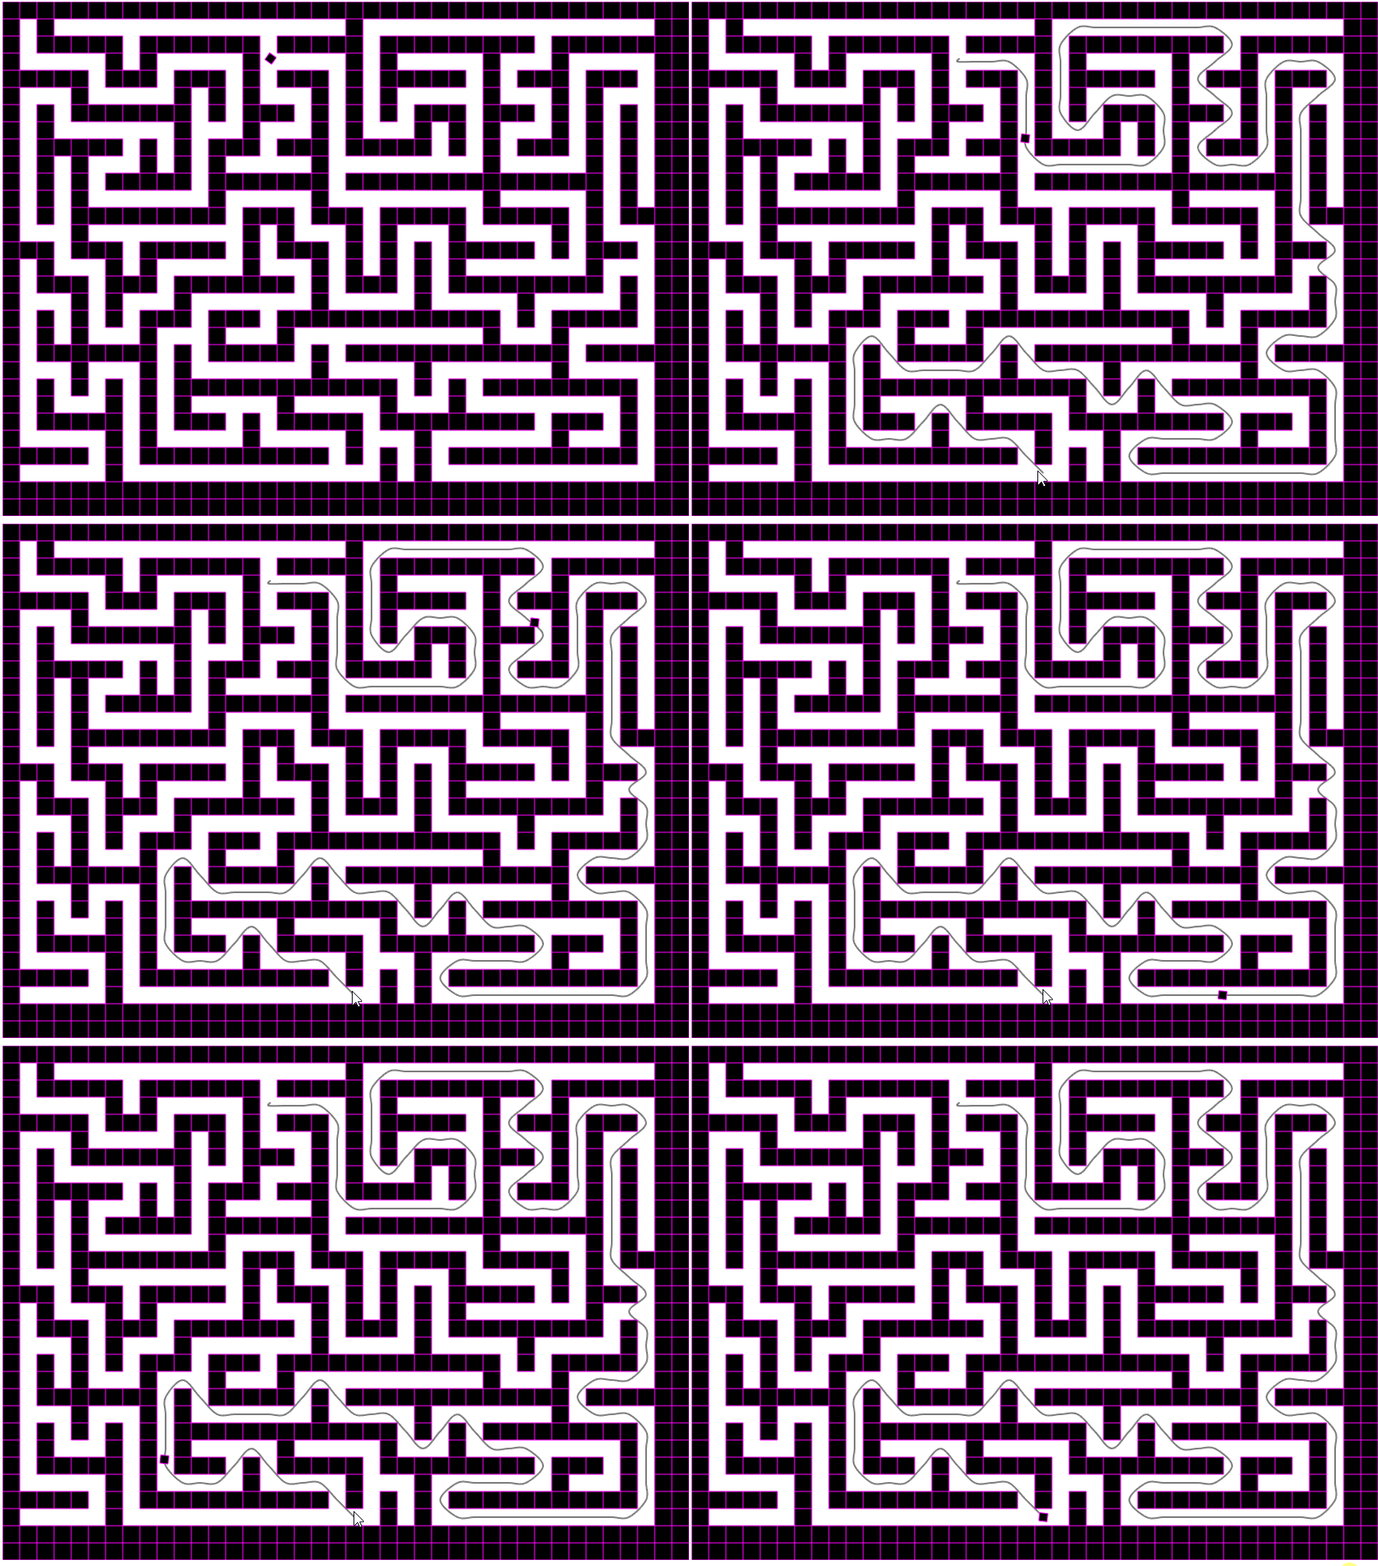
描画されたパスに沿って移動しているのがわかります。

今回のソースはこちらです。
http://firestorage.jp/download/36288339ca2f4e517ce9202742efce96b22c413d