Phaser 3 : リボントレイルを作る① Meshを使う
今回からはトレイルエフェクトを作ってみたいと思います。
トレイルはオブジェクトが動いた際の軌跡を描くエフェクトです。
もっとも簡単なトレイルの実装はスプライト等表示物そのものを複製しながらアルファ値を変えるなどして通過点上に配置するやりかたですが、Phaser3ではmeshを扱えるようになったのでポリゴンで尾を引くようなトレイルを作成してみたいと思います。
リボントレイルとも呼ばれるものですね。
meshを使う
まずは以前作ったブロックオブジェクトを基として単純なmeshを描いてみようと思います。
meshの基本構造を知る
meshはscene.make.meshで作成することができます。
optionのkeyでテクスチャを指定し、verticesとuvで頂点配列とuv配列をそれぞれ指定します。
this.mesh = this.make.mesh({
    key: 'block',
    x: 0,
    y: 0,
    vertices: array,
    uv: uv,
    colors:colors
});
頂点を作成する
まずはmeshに渡すための頂点配列を作成します。
meshはポリゴンの集合体で、順序通りに作成しないと描画されません。
phaser3では右回りにポリゴンを作らないと裏向きと判断され描画されないので、右回りでポリゴンを作っていきます。
公式サンプルにわかりやすい例が載っていたので引用します。
//  A          A----C
//  |\         \  2 |
//  | \         \   |
//  |  \         \  |
//  | 1 \         \ |
//  |    \         \|
//  B----C          B
//  The mesh x/y defines the center of the mesh.
//  Vertice coordinates are relative to that.
要するに一枚の矩形を描画するためには
左上(x , y)
左下(x , y)
右下(x , y)
左上(x , y)
右下(x , y)
右上(x , y)
の順に頂点を追加すればいい、ということになると思います。
始点のxy座標と終点のxy座標を指定し、指定された数の矩形を作成するCreateVertsを作成しました。
interface XY {
    x: number;
    y: number;
}

public CreateVerts(start: XY, end: XY,width:number,points:number):number[] {
    let arr = [];
    let yincr = (end.y - start.y )/ points;


    for (let i = 0; i < points; i++) {

        //左上
        arr.push(start.x - width / 2 + Math.sin(i),start.y + yincr*i );
        //左下
        arr.push(start.x - width / 2 + Math.sin(i), start.y + yincr * (i + 1));
        //右下
        arr.push(start.x + width / 2 + Math.sin(i), start.y + yincr * (i + 1));

        //左上
        arr.push(start.x - width / 2 + Math.sin(i), start.y + yincr * i);
        //右下
        arr.push(start.x + width / 2 + Math.sin(i), start.y + yincr * (i + 1));
        //右上
        arr.push(start.x + width / 2 + Math.sin(i), start.y + yincr * i);
    }

    return arr;
}
uvを作成する
次にuvを作成します。
uvとはテクスチャ内の座標を指定するもので、vertecesと紐づけられます。
uが横方向、vが縦方向を指し、0~1までの範囲を指定することで「各頂点がテクスチャのどのあたりにいるか」を指定することができます。
たとえば
vertices[0] = 100,vertices[1] = 100,
uv[0] = 0.1 , uv[1] =0.1
であれば最初の頂点(100,100)は指定されたテクスチャの左上から1/10の位置を参照する、ということです。
u:0 v:0は左上、u:1 v:1は右下を指します。
uvもverticesと同じ順番で作成する必要がありますので、createverticesと同じ要領でcreateUvsを作成します。
public CreateUVs(points: number): number[] {
    let arr = [];
    let uvincr = 1 / points;

    for (let i = 0; i < points; i++) {
        //左上
        arr.push(0);
        arr.push(uvincr * i);

        //左下
        arr.push(0);
        arr.push(uvincr * (i +1));

        //右下
        arr.push(1);
        arr.push(uvincr * (i+1));

        //左上
        arr.push(0);
        arr.push(uvincr * i);

        //右下
        arr.push(1);
        arr.push(uvincr * (i+1));

        //右上
        arr.push(1);
        arr.push(uvincr * i);
    }


    return arr;
}
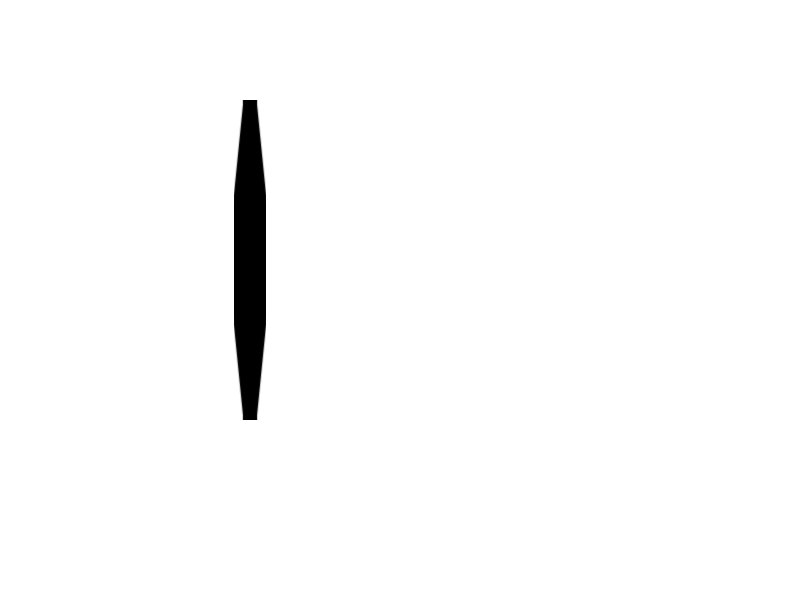
上記の実行結果がこちらです。

頂点色を変更する
以上では普通にスプライトを引き延ばして作ったものと変わりがないように見えるので、各頂点のx座標を揺らしてみました。
public CreateVerts(start: XY, end: XY,width:number,points:number):number[] {
    let arr = [];
    let yincr = (end.y - start.y )/ points;


    for (let i = 0; i < points; i++) {

        //左上
        arr.push(start.x - width / 2 + Math.sin(i),start.y + yincr*i );
        //左下
        arr.push(start.x - width / 2 + Math.sin(i), start.y + yincr * (i + 1));
        //右下
        arr.push(start.x + width / 2 + Math.sin(i), start.y + yincr * (i + 1));

        //左上
        arr.push(start.x - width / 2 + Math.sin(i), start.y + yincr * i);
        //右下
        arr.push(start.x + width / 2 + Math.sin(i), start.y + yincr * (i + 1));
        //右上
        arr.push(start.x + width / 2 + Math.sin(i), start.y + yincr * i);
    }

    return arr;
}
さらに頂点色を設定して各ポリゴンの色を変えてみます。
//頂点色を適当に変化
let colors = []
for (let i = 0; i < points; i++) {
    colors.push(i);
    colors.push(i*2);
    colors.push(i*2);
    colors.push(i);
    colors.push(i*2);
    colors.push(i);
}

this.mesh = this.make.mesh({
    key: 'block',
    x: 0,
    y: 0,
    vertices: array,
    uv: uv,
    colors:colors
});
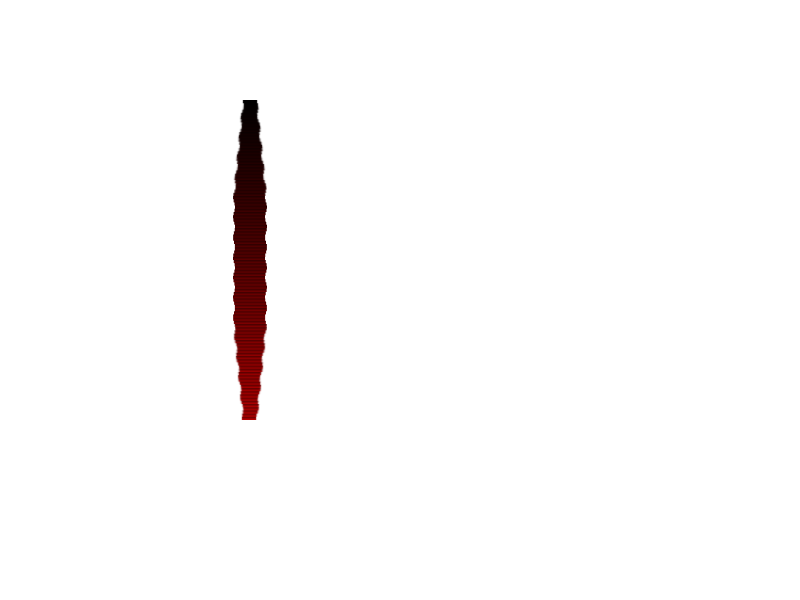
以上の実行結果がこちらです。
各頂点のx座標が波打っているので、1枚のスプライトではなくポリゴンが集まってできているものだとわかると思います。

次回からはこのmeshをアニメーションさせる方法を考えていきたいと思います。
今回のソース全文はこちらです。
/// <reference path="../app.ts" />

namespace MyGame {

    interface XY {
        x: number;
        y: number;
    }

    export class MyScene1 extends Phaser.Scene {
        //グラフィックオブジェクトを用意
        public graphics: Phaser.GameObjects.Graphics;
        public mesh: Phaser.GameObjects.Mesh;
        constructor() {
            super({ key: 'MyScene1', active: false });
        }

        preload() {
            this.load.image("block","assets/images/block1.png")
        }

        create() {

            this.cameras.main.setBackgroundColor(0xffffff);

            //ポリゴンの分割精度
            let points = 100;

            //頂点配列の作成
            let array = this.CreateVerts({ x: 250, y: 100 }, { x: 250, y: 420 }, 32, points);

            //uv配列の作成
            let uv = this.CreateUVs(points);

            //頂点色を適当に変化
            let colors = []
            for (let i = 0; i < points; i++) {
                colors.push(i);
                colors.push(i*2);
                colors.push(i*2);
                colors.push(i);
                colors.push(i*2);
                colors.push(i);
            }

            this.mesh = this.make.mesh({
                key: 'block',
                x: 0,
                y: 0,
                vertices: array,
                uv: uv,
                colors:colors
            });


        }

        public CreateVerts(start: XY, end: XY,width:number,points:number):number[] {
            let arr = [];
            let yincr = (end.y - start.y )/ points;


            for (let i = 0; i < points; i++) {

                //左上
                arr.push(start.x - width / 2 + Math.sin(i),start.y + yincr*i );
                //左下
                arr.push(start.x - width / 2 + Math.sin(i), start.y + yincr * (i + 1));
                //右下
                arr.push(start.x + width / 2 + Math.sin(i), start.y + yincr * (i + 1));

                //左上
                arr.push(start.x - width / 2 + Math.sin(i), start.y + yincr * i);
                //右下
                arr.push(start.x + width / 2 + Math.sin(i), start.y + yincr * (i + 1));
                //右上
                arr.push(start.x + width / 2 + Math.sin(i), start.y + yincr * i);
            }

            return arr;
        }

        public CreateUVs(points: number): number[] {
            let arr = [];
            let uvincr = 1 / points;

            for (let i = 0; i < points; i++) {
                //左上
                arr.push(0);
                arr.push(uvincr * i);

                //左下
                arr.push(0);
                arr.push(uvincr * (i +1));

                //右下
                arr.push(1);
                arr.push(uvincr * (i+1));

                //左上
                arr.push(0);
                arr.push(uvincr * i);

                //右下
                arr.push(1);
                arr.push(uvincr * (i+1));

                //右上
                arr.push(1);
                arr.push(uvincr * i);
            }


            return arr;
        }

        update() {

        }
    }
}