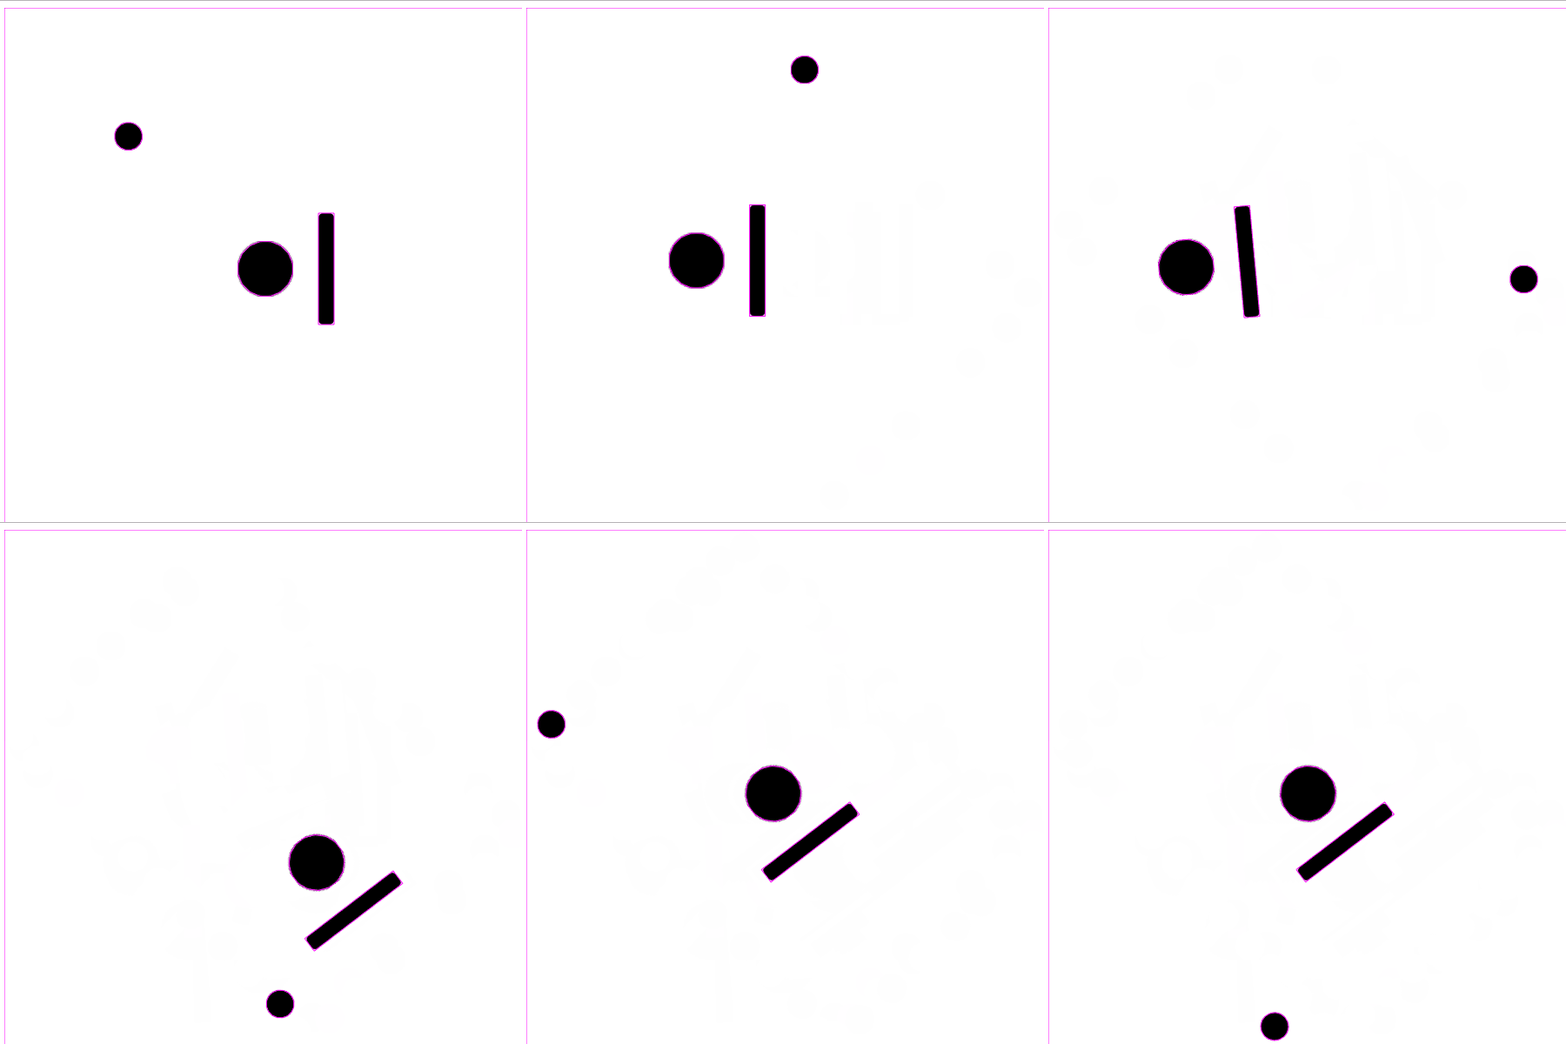
Phaser 3 : ブロック崩しを作ってみる ② 入力処理(キーボード、ゲームパッド)を作る
前回に続きブロック崩しを作っていきます。
まずは入力を検知して自機を操作できるようにしてみましょう。
入力検知用のシーンを作る
入力検知は長くなりそうなので、入力検知のためだけのシーン InputManagerを作成しました。
キーボードの入力
this.input.keyboard.addKey でキーコードとキーの紐づけ
まずはキーボードの入力を取得してみましょう。
自機の操作は上下左右の移動と回転が必要なので、横軸:xAxis 縦軸: yAxis 回転:xRotate の三つの変数を用意し、上下左右+左右回転の六つのキーを用意します。
Phaser.Input.Keyboard.Key がPhaserのキー入力ハンドラです。
class InputManager extends Phaser.Scene {

    //移動用の入力
    public xAxis: number;
    public yAxis: number;

    //回転用の入力
    public xRotate: number;

    //キーボードの入力取得用キーオブジェクト
    private keyA: Phaser.Input.Keyboard.Key;
    private keyD: Phaser.Input.Keyboard.Key;
    private keyW: Phaser.Input.Keyboard.Key;
    private keyS: Phaser.Input.Keyboard.Key;
    private keyLeft: Phaser.Input.Keyboard.Key;
    private keyRight: Phaser.Input.Keyboard.Key;

    constructor() {
        super({ key: 'InputManager', active: false });
    }
}
次にcreateでキーハンドラに対応するキーを設定します。
this.input.keyboard.addKeyでキーコードとの紐づけができます。
例えば
this.keyA = this.input.keyboard.addKey(Phaser.Input.Keyboard.KeyCodes.A);
のコードでは、キーボードのAになんらかのイベントが起きた時にkeyAがイベントの詳細を保持するようになります。
    create() {

        //キーの登録
        this.keyA = this.input.keyboard.addKey(Phaser.Input.Keyboard.KeyCodes.A);
        this.keyD = this.input.keyboard.addKey(Phaser.Input.Keyboard.KeyCodes.D);
        this.keyW = this.input.keyboard.addKey(Phaser.Input.Keyboard.KeyCodes.W);
        this.keyS = this.input.keyboard.addKey(Phaser.Input.Keyboard.KeyCodes.S);
        this.keyLeft = this.input.keyboard.addKey(Phaser.Input.Keyboard.KeyCodes.LEFT);
        this.keyRight = this.input.keyboard.addKey(Phaser.Input.Keyboard.KeyCodes.RIGHT);

    }
isDownで押下の取得
次にupdateで入力を処理しましょう。
key.isDownでキーが押されているかどうかを判定できます。
ADで左右の移動量、WSで上下、矢印キー←→で左右回転の移動を処理します。
    update() {
            //key.isDownで指定のキーの入力を取得できる
            if (this.keyA.isDown) {
                this.xAxis = -1;
            } else if (this.keyD.isDown) {
                this.xAxis = 1;
            } else {
                this.xAxis = 0;
            }

            if (this.keyW.isDown) {
                this.yAxis = -1;
            } else if (this.keyS.isDown) {
                this.yAxis = 1;
            } else {
                this.yAxis = 0;
            }

            if (this.keyLeft.isDown) {
                this.xRotate = -1;
            } else if (this.keyRight.isDown) {
                this.xRotate = 1;
            } else {
                this.xRotate = 0;
            }
    }
以上でキーボードの入力が作成できました。
ゲームパッドの入力
次にゲームパッドの入力を処理していきます。
はじめにゲームパッドのオブジェクトを宣言しておきましょう。
    //ゲームパッドの設定
    public gamepad: Phaser.Input.Gamepad.Gamepad;
input.gamepad.onceでゲームパッドを検知する
キーボードはPhaserが自動で取得してくれますが、ゲームパッドは自分で設定しなければなりません。
公式サンプルにinput.gamepad.onceを用いて最初に入力があったゲームパッドを取得する方法があったのでそちらを使います。
input.gamepad.onceはキーで指定されたゲームパッドのイベントがあった場合に一度だけ実行されます。
キーにdownを指定すれば初めにボタンを押したときだけ実行されます。
        //ゲームパッドの検知
        this.input.gamepad.once('down', function (pad, button, index) {
            this.gamepad = pad;
        }, this);
input.gamepad.axisで各軸の入力を取得する
ゲームパッドは各軸の入力をそのまま軸用変数に代入すればいいので処理が楽です。
gamepad.axis[]で各軸の入力を取得できます。
手持ちのXbox360ゲームパッドでは[0]が左スティックX軸、[1]が左スティックY軸、[2]が右スティックX軸でした。
        if (this.gamepad) {
            //ゲームパッドのx軸を取得する
            //手持ちのゲームパッドはブレがあるのでしきい値を設定する(0.2)
            this.xAxis = this.gamepad.axes[0].getValue();
            this.yAxis = this.gamepad.axes[1].getValue();
            this.xRotate = this.gamepad.axes[2].getValue();
        }
これでゲームパッドの設定も完了しました。
this.gamepadは設定したゲームパッドが接続されている間はtrueを返します。
これを用いてゲームパッドが有効になっている間はキーボードの入力を不可にしました。
最終的な入力処理シーンのコードはこちらです。
class InputManager extends Phaser.Scene {

    //ゲームパッドの設定
    public gamepad: Phaser.Input.Gamepad.Gamepad;

    //移動用の入力
    public xAxis: number;
    public yAxis: number;

    //回転用の入力
    public xRotate: number;

    //キーボードの入力取得用キーオブジェクト
    private keyA: Phaser.Input.Keyboard.Key;
    private keyD: Phaser.Input.Keyboard.Key;
    private keyW: Phaser.Input.Keyboard.Key;
    private keyS: Phaser.Input.Keyboard.Key;
    private keyLeft: Phaser.Input.Keyboard.Key;
    private keyRight: Phaser.Input.Keyboard.Key;

    constructor() {
        super({ key: 'InputManager', active: false });
    }

    create() {
        //ゲームパッドの検知
        this.input.gamepad.once('down', function (pad, button, index) {
            this.gamepad = pad;
        }, this);

        //キーの登録
        this.keyA = this.input.keyboard.addKey(Phaser.Input.Keyboard.KeyCodes.A);
        this.keyD = this.input.keyboard.addKey(Phaser.Input.Keyboard.KeyCodes.D);
        this.keyW = this.input.keyboard.addKey(Phaser.Input.Keyboard.KeyCodes.W);
        this.keyS = this.input.keyboard.addKey(Phaser.Input.Keyboard.KeyCodes.S);
        this.keyLeft = this.input.keyboard.addKey(Phaser.Input.Keyboard.KeyCodes.LEFT);
        this.keyRight = this.input.keyboard.addKey(Phaser.Input.Keyboard.KeyCodes.RIGHT);

    }

    update() {
        if (this.gamepad) {
            //ゲームパッドのx軸を取得する
            //手持ちのゲームパッドはブレがあるのでしきい値を設定する(0.2)
            this.xAxis = this.gamepad.axes[0].getValue();
            this.yAxis = this.gamepad.axes[1].getValue();
            this.xRotate = this.gamepad.axes[2].getValue();
        } else {
            //key.isDownで指定のキーの入力を取得できる
            if (this.keyA.isDown) {
                this.xAxis = -1;
            } else if (this.keyD.isDown) {
                this.xAxis = 1;
            } else {
                this.xAxis = 0;
            }

            if (this.keyW.isDown) {
                this.yAxis = -1;
            } else if (this.keyS.isDown) {
                this.yAxis = 1;
            } else {
                this.yAxis = 0;
            }

            if (this.keyLeft.isDown) {
                this.xRotate = -1;
            } else if (this.keyRight.isDown) {
                this.xRotate = 1;
            } else {
                this.xRotate = 0;
            }

        }
    }
}
コントローラーの入力を物理オブジェクトの移動に反映する
MyScene1で入力処理シーンを呼び出して入力をオブジェクトの移動に反映させてみます。
まずはInputManagerシーンを宣言します。
    //入力検知シーンの設定
    public controller: InputManager;
createの最後でInputManagerシーンをlaunchしましょう。
create(){
~~~
          this.controller = this.scene.get("InputManager") as InputManager;
~~~
}
updateに移動用の処理を追加します。
angleで回転角度を、setVelocityで自機の速度を制御できます。
this.controllerから各軸の変数を取得して代入します。
        //中心の球の移動処理
        this.center.angle += this.controller.xRotate*this.speed;
        this.center.setVelocity(this.controller.xAxis * this.speed, this.controller.yAxis * this.speed);
これで自機を操作できるようになりました。

MyScene1のサンプルコード全文はこちらです。
class MyScene1 extends Phaser.Scene {

    //物理オブジェクトの宣言
    public center: Phaser.Physics.Matter.Image;
    public bar: Phaser.Physics.Matter.Image;
    public ball: Phaser.Physics.Matter.Image;
    public text: Phaser.GameObjects.Text;

    //自機の移動速度
    public speed: number = 10;

    //入力検知シーンの設定
    public controller: InputManager;

    constructor() {
        super({ key: 'MyScene1', active: true });
    }

    preload() {
        //画像の読み込み
        this.load.image('ball', 'assets/images/ball.png');
        this.load.image('bar', 'assets/images/bar.png');
    }

    create() {

        this.text = this.add.text(10, 10, "0", { font: '16px Courier', fill: '#000' });

        //背景を白に
        this.cameras.main.setBackgroundColor('#ffffff')

        //ワールドの重力を0に設定
        this.matter.world.disableGravity()

        //画面端に当たり判定を設定
        this.matter.world.setBounds(0, 0, this.sys.canvas.width, this.sys.canvas.height);

        //物理オブジェクトを作成
        this.ball = this.matter.add.image(
            this.sys.canvas.width/2,
            0,
            'ball', null,
            { shape: { type: 'circle', radius: 16 }, label: "ball", ignorePointer: true }
        );

        //ボールの反発係数、初期速度、摩擦係数を設定
        this.ball.setBounce(1.01);
        this.ball.setVelocityY(Phaser.Math.Between(-20, 20));
        this.ball.setVelocityX(Phaser.Math.Between(-20, 20));
        this.ball.setFriction(0, 0, 0)

        //球を画面中央に配置
        this.center = this.matter.add.image(
            this.sys.canvas.width/2,
            this.sys.canvas.height/2,
            'ball', null,
            { shape: { type: 'circle', radius: 16 }, label: "center", ignorePointer: true }
        );
        this.center.setScale(2,2)

        //バーを球の周辺部に配置
        this.bar = this.matter.add.image(
            this.sys.canvas.width / 2,
            this.sys.canvas.height / 2 - 70,
            'bar',
            null,
            { label: "bar" }
        );

        //バーの反発係数を少し高くするとボールが勢いよく反射する
        this.bar.setBounce(1.2)
        this.bar.setFriction(0, 0, 0)

        //InputManagerシーンを実行
        this.scene.launch("InputManager")
        this.controller = this.scene.get("InputManager") as InputManager;

    }

    update() {
        //中心の球の移動処理
        this.center.angle += this.controller.xRotate*this.speed;
        this.center.setVelocity(this.controller.xAxis * this.speed, this.controller.yAxis * this.speed);

        //バーの位置と角度を自機の向きに合わせる
        this.bar.x = this.center.x + 70 * Math.cos(this.center.rotation);
        this.bar.y = this.center.y + 70 * Math.sin(this.center.rotation);
        this.bar.angle = this.center.angle - 90 ;

        //ボールの速度の取得
        let vel = (this.ball.body as Phaser.Physics.Arcade.Body).velocity

        //速度が落ちてきたら適当に設定する
        if ((Math.abs(vel.x) + Math.abs(vel.y)) < 10) {
            this.ball.setVelocityY(Phaser.Math.Between(-20, 20));
            this.ball.setVelocityX(Phaser.Math.Between(-20, 20));
        }
    }
}
まとめ
- this.input.keyboard.addKeyでキーハンドラとキーコードの紐づけ
- ゲームパッドはまずはじめに検知処理を書く