Sceneの取り扱い② Sceneの構造、Scene間の連携
今回はシーンの基本的な構造について紹介いたします。
preload, create, update
前回のシーン実行の記事では説明を省きましたが、
preload, create, updateはシーンの基本構造です。
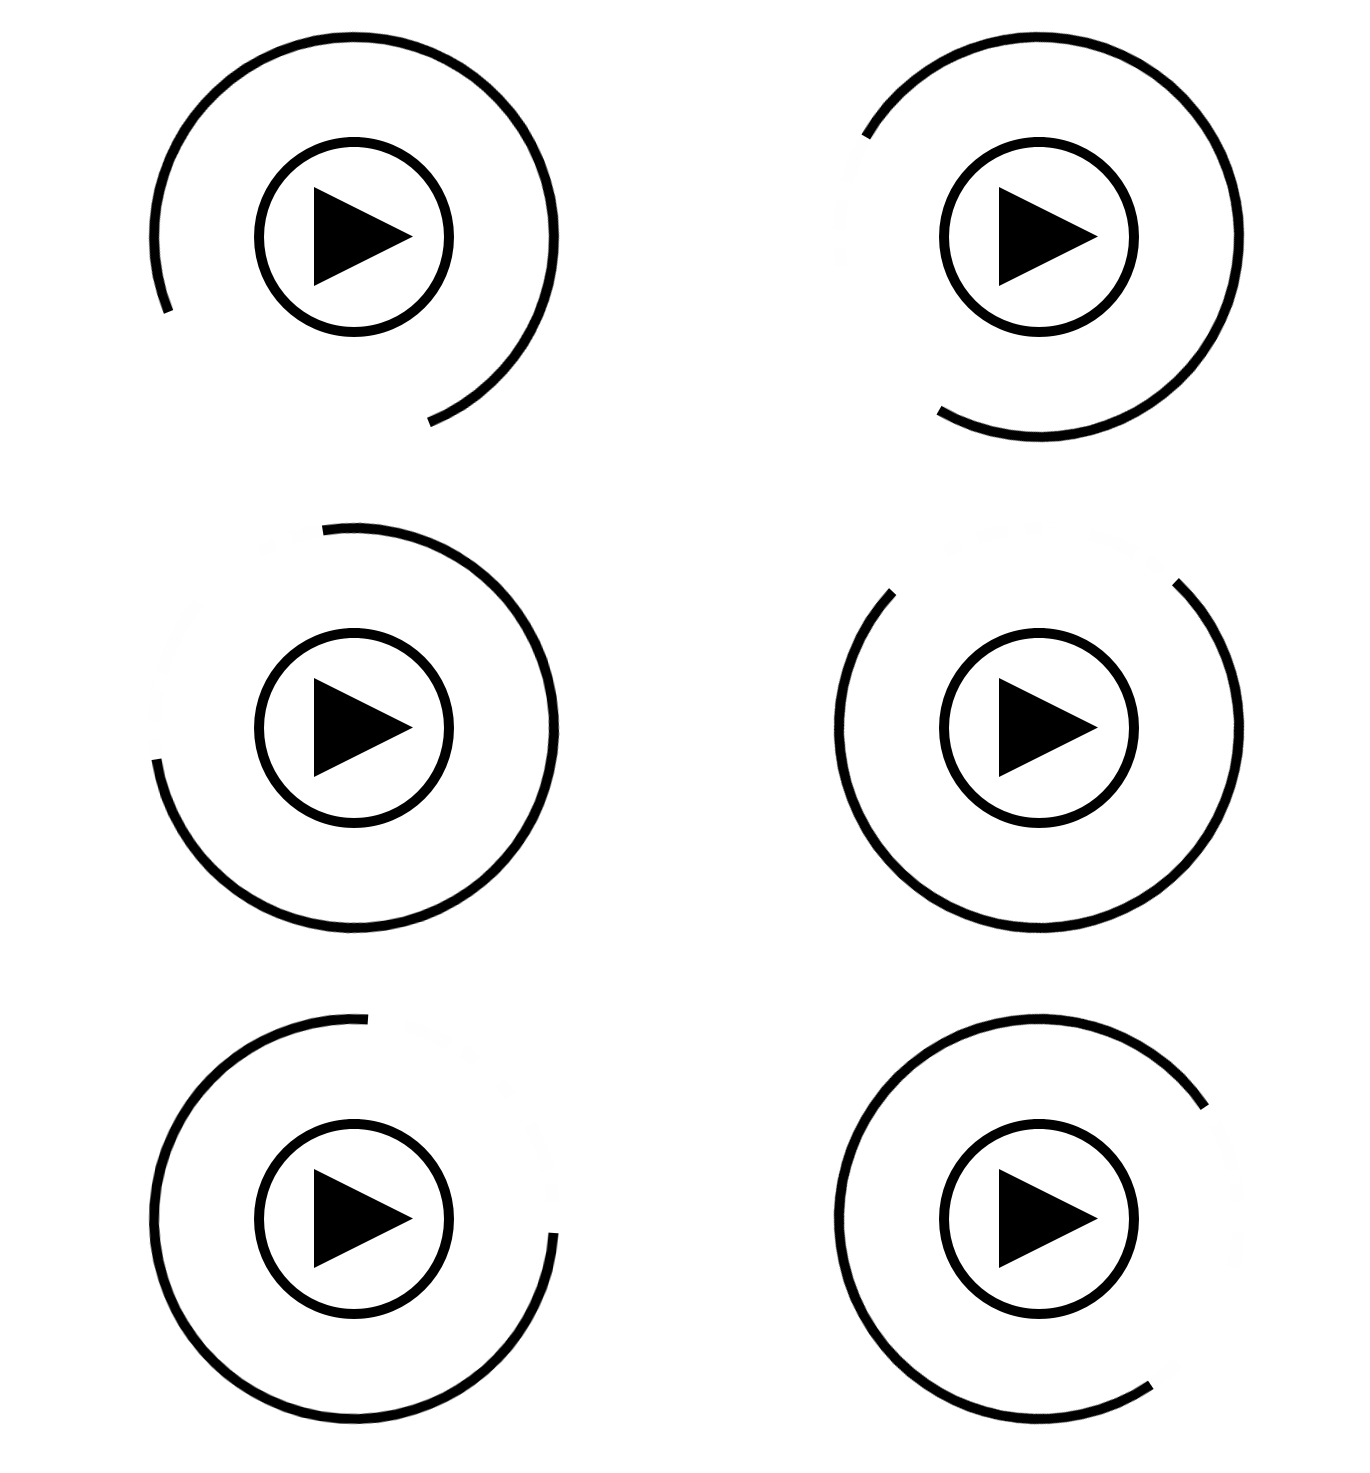
これらを使って再生ボタンの周りを回転する円弧を作ってみましょう。

    //別シーンからアクセスできるようにpublicにしておく
    public sprite: Phaser.GameObjects.Sprite;

    constructor() {
        //Sceneを拡張してクラスを作る際にコンストラクタでSceneの設定を渡します
        super({ key: 'MyScene1', active: true });
    }

    preload() {
        //画像の読み込み
        this.load.image('play', 'assets/images/play.png');
    }

    create() {

        //読み込んだ画像を表示
        this.add.sprite(this.sys.canvas.width / 2, this.sys.canvas.height / 2, "play");

        //PhaserのGraphicsで円弧を描く
        let graphics = this.add.graphics();
        graphics.lineStyle(4, 0xff00ff, 1);
        graphics.beginPath();
        graphics.lineStyle(10, 0x000000)
        graphics.arc(400, 300, 200, Phaser.Math.DegToRad(90), Phaser.Math.DegToRad(180), true);
        graphics.strokePath();

        //描いた円弧をテクスチャにする
        graphics.generateTexture("arc")

        //spriteとして表示するのでgraphicsを非表示に
        graphics.visible = false

        //テクスチャにしたgraphicsをスプライトにする
        this.sprite = this.add.sprite(this.sys.canvas.width / 2, this.sys.canvas.height / 2, "arc")

        //背景を白に
        this.cameras.main.setBackgroundColor('#ffffff')

    }

    update() {
        //毎フレーム実行される
        this.sprite.angle += 1
    }
preload : アセットの読み込み、シーンの前準備
preloadはシーンの起動時に最初に実行される関数です。
一度だけ実行され、この関数が終了するまでcreateやupdateは実行されません。
サンプルコードではassets/images内にあるplay.pngを読み込んでいます。
(素材はCMANさんからいただきました)
  preload() {
        //画像の読み込み
        this.load.image('play', 'assets/images/play.png');
    }
上記実行時点ではなにも表示されていませんね。

create : ゲームオブジェクトの作成に適したタイミング
createはpreloadのあとに実行されます。
preloadの処理が終了するまでは呼ばれないため、
preloadでアセットを読み込み、createで読み込んだアセットを用いてゲームオブジェクトを作成する、
といった使い方ができます。
サンプルコードではPhaserのグラフィックス機能を用いて作成した円弧をgeneratetextureを用いてテクスチャ化し、スプライトを作成してpreloadで読み込んだ画像とともに表示しています。
    create() {

        //読み込んだ画像を表示
        this.add.sprite(this.sys.canvas.width / 2, this.sys.canvas.height / 2, "play");

        //PhaserのGraphicsで円弧を描く
        let graphics = this.add.graphics();
        graphics.lineStyle(4, 0xff00ff, 1);
        graphics.beginPath();
        graphics.lineStyle(10, 0x000000)
        graphics.arc(400, 300, 200, Phaser.Math.DegToRad(90), Phaser.Math.DegToRad(180), true);
        graphics.strokePath();

        //描いた円弧をテクスチャにする
        graphics.generateTexture("arc")

        //spriteとして表示するのでgraphicsを非表示に
        graphics.visible = false

        //テクスチャにしたgraphicsをスプライトにする
        this.sprite = this.add.sprite(this.sys.canvas.width / 2, this.sys.canvas.height / 2, "arc")

        //背景を白に
        this.cameras.main.setBackgroundColor('#ffffff')

    }
カメラを白背景にし、スプライトを追加したため、画像と黒い円弧が見えるようになりました。

update : 毎フレーム実行、いわゆるゲームループ部分
updateはシーンが実行されている間、毎フレーム呼ばれる関数です。
ここにゲームオブジェクトを操作するための処理を書きます。
サンプルコードでは円弧を回転させるために円弧スプライトのangleに毎フレーム1を加算しています。
    update() {
        //毎フレーム実行される
        this.sprite.angle += 1
    }
これで冒頭のgifのように回転する円弧ができました。

scene.getで他のシーンの中身を取得する
今度はもう一つシーンを作ってシーン間の連携を試してみましょう。
scene.getでシーンを取得する
scene.getを使うと他のシーンの要素を参照できます。
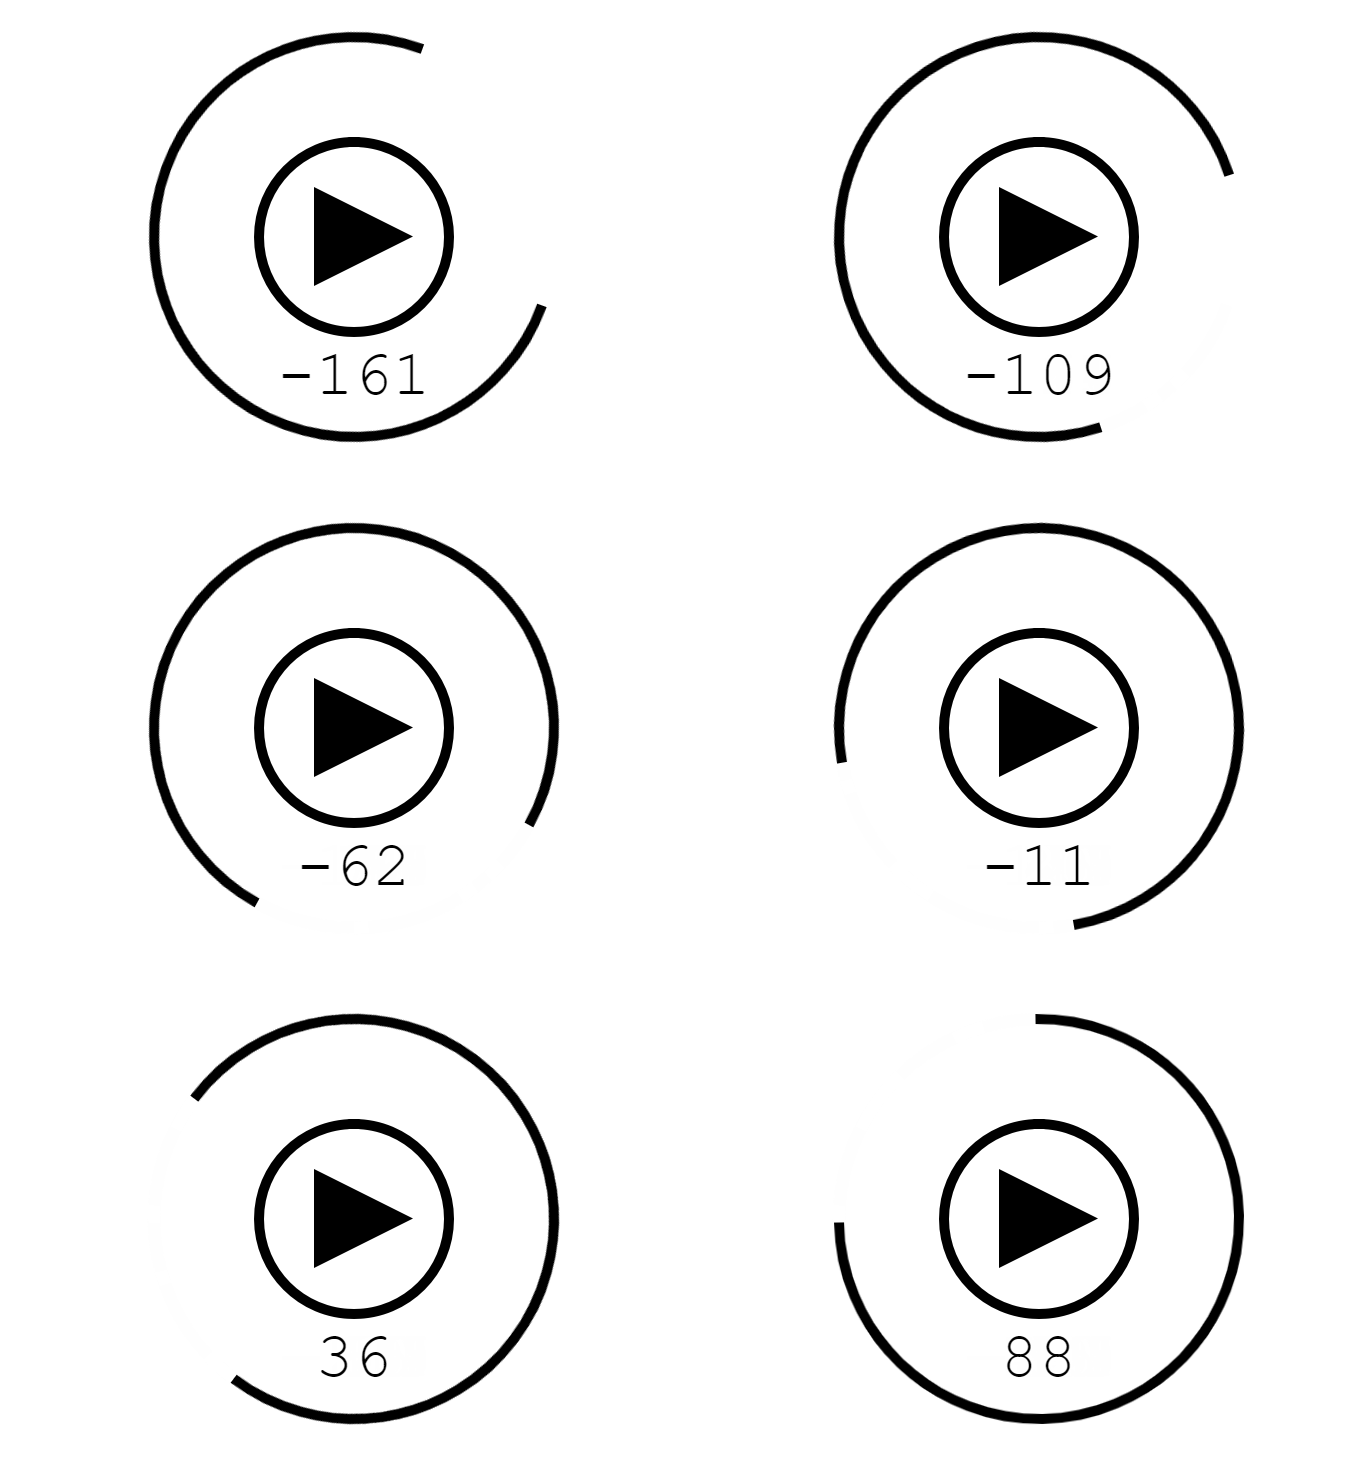
以下はMyScene1で作った円弧のangleを画面に表示するシーンのサンプルコードです。
class MyScene2 extends Phaser.Scene {

    private scene1: MyScene1;
    private text:Phaser.GameObjects.Text

    constructor() {
        //!!自動実行をfalseにしておく!!
        super({ key: 'MyScene2', active: false });
    }

    create() {
        //MyScene1のspriteを参照したいため取得したシーンをMyScene1にキャスト
        //constructorで指定したキーでシーンを取得
        this.scene1 = this.scene.get("MyScene1") as MyScene1;

        //MyScene1で作成したの原点を取得、Y軸をすこしずらす
        this.text = this.add.text(this.scene1.sprite.x, this.scene1.sprite.y + 140, '').setFontSize(64).setColor('#000');
        this.text.setOrigin(0.5)
    }

    update() {
        //円弧のangleをリアルタイムに取得する
        this.text.setText(this.scene1.sprite.angle.toFixed(0).toString())
    }

}
create内の
this.scene1 = this.scene.get("MyScene1") as MyScene1;
というコードでシーンを取得しています。
scene.get("取得したいシーンのキー")でシーンを取得することができます。
MyScene1内のspriteにアクセスしやすいようにscene1をMyScene1にキャストしましょう。
※MyScene2はactiveを必ずfalseにしてください。
自動実行をオフにしておかないと、参照元のシーンではまだpreloadが終了していないのにMyScene2が実行され、作成されていないオブジェクトを参照するなどして大抵の場合エラーがおきます。
今回のサンプルコードの場合、参照したいシーン=MyScene1の最終行にscene.launchを追加して安全にMyScene2を実行しましょう。
class MyScene1 extends Phaser.Scene {
~~
    create() {
       ~~
        //ここでMyScene2をlaunch
        this.scene.launch("MyScene2")
    }
~~

}
これでMyScene1の要素にアクセスできるようになったため、
MyScene2内のupdateではMyScene1の円弧の角度をリアルタイムに取得して画面に出力しています。
今回のサンプルではangleを取得しているだけですが、getしたシーンの関数を使用することもできます。

以上、今回はシーンに基本的な構造と連携について勉強しました。
まとめると、
- preloadでアセットの読み込み、createでゲームオブジェクトの作成、updateで毎フレームの処理
- scene.getで他シーンの要素にアクセスできる
というところが要点になるでしょう。
以下が今回のサンプルコードの全文です。
class MyScene1 extends Phaser.Scene {

    //別シーンからアクセスできるようにpublicにしておく
    public sprite: Phaser.GameObjects.Sprite;

    constructor() {
        //Sceneを拡張してクラスを作る際にコンストラクタでSceneの設定を渡します
        super({ key: 'MyScene1', active: true });
    }

    preload() {
        //画像の読み込み
        this.load.image('play', 'assets/images/play.png');
    }

    create() {

        //読み込んだ画像を表示
        this.add.sprite(this.sys.canvas.width / 2, this.sys.canvas.height / 2, "play");

        //PhaserのGraphicsで円弧を描く
        let graphics = this.add.graphics();
        graphics.lineStyle(4, 0xff00ff, 1);
        graphics.beginPath();
        graphics.lineStyle(10, 0x000000)
        graphics.arc(400, 300, 200, Phaser.Math.DegToRad(90), Phaser.Math.DegToRad(180), true);
        graphics.strokePath();

        //描いた円弧をテクスチャにする
        graphics.generateTexture("arc")

        //spriteとして表示するのでgraphicsを非表示に
        graphics.visible = false

        //テクスチャにしたgraphicsをスプライトにする
        this.sprite = this.add.sprite(this.sys.canvas.width / 2, this.sys.canvas.height / 2, "arc")

        //背景を白に
        this.cameras.main.setBackgroundColor('#ffffff')

        //ここでMyScene2をlaunch
        this.scene.launch("MyScene2")
    }

    update() {
        //毎フレーム実行される
        this.sprite.angle += 1
    }
}

class MyScene2 extends Phaser.Scene {

    private scene1: MyScene1;
    private text:Phaser.GameObjects.Text

    constructor() {
        //自動実行をfalseにしておく
        super({ key: 'MyScene2', active: false });
    }

    create() {
        //MyScene1のspriteを参照したいため取得したシーンをMyScene1にキャスト
        //constructorで指定したキーでシーンを取得
        this.scene1 = this.scene.get("MyScene1") as MyScene1;

        //MyScene1で作成したの原点を取得、Y軸をすこしずらす
        this.text = this.add.text(this.scene1.sprite.x, this.scene1.sprite.y + 140, '').setFontSize(64).setColor('#000');
        this.text.setOrigin(0.5)
    }

    update() {
        //円弧のangleをリアルタイムに取得する
        this.text.setText(this.scene1.sprite.angle.toFixed(0).toString())
    }

}

var config: GameConfig = {
    parent: 'content',
    type: Phaser.AUTO,
    width: 800,
    height: 600,
    scene: [MyScene1, MyScene2],

}

window.onload = () => {
    new Phaser.Game(config);
}